Thursday, January 12, 2012

The Crooked Scone

If I were to open a bakery, I'd have to call it the Sunken Loaf. Or maybe the Crooked Scone. And if I did open a bakery, it would have a playground for babies to play in so adults could enjoy their baked goods in peace and quiet and babies would have somewhere to burn off some energy during the cold, cold winters (it's below zero here today; boo!). Then maybe people would come for the atmosphere and not notice so much that my baked goods have .... personality?

Assembled ingredients for scones

I'm pretty proud this week. After 2 months (from Halloween to Christmas) of eating whatever I wanted, whenever I wanted - resulting in an 11 lb weight gain! - I got back on the Weight Watchers band wagon and tracked, tracked, tracked my points. This week I lost 2.8 lbs! Still a long way to go to get rid of holiday weight, and even farther to go to get rid of pregnancy weight (yes, a year later, I'm still toting it around....), but I know from experience that success breeds success.

All stirred up
So, when I had a hankerin' for baking today (did I mention it's below zero with the wind chill??), I knew just what to make. I've followed Gina at Skinnytaste for some time. Made several of her dinner dishes, and only attempted one baked good - and it didn't turn out! So, I swore to stay away from "skinny" baked goods for good. But, this recipe. Looked SO good. Looked like good-sized pieces.  Low points values (for a baked good). All ingredients I had on hand. Perfect!

Skinny Buttermilk Chocolate Chip Scones
recipe from skinnytaste.com


Ready to knead


Ingredients:
  • 3/4 cup cold buttermilk
  • 1/4 cup sugar
  • 2 tsp vanilla extract
  • 1 large egg
  • 1 cup all purpose flour (Bob's Red Mill)
  • 1 cup white whole wheat flour (Bob's Red Mill)
  • 1 tbsp baking powder
  • 1/2 tsp salt
  • 3 tbsp chilled butter (must be cold) cut into small pieces
  • 3/4 cup chocolate chips
  • cooking spray
  • 1 large egg white, lightly beaten
  • 1 1/2 tbsp sugar
Directions:
Preheat oven to 375°. Combine the first four ingredients in a medium bowl, stirring with a whisk. Spray baking sheet with cooking spray.
Combine flour, baking powder, salt, in a large bowl, stirring with a whisk. Cut in chilled butter with a pastry blender, or you could use 2 knives, until the mixture resembles coarse meal. Gently fold in chocolate chips. Add milk mixture, stirring just until moist.
Place dough onto a floured surface and knead lightly four times with floured hands. Form dough into an 9-inch circle onto baking sheet, about 3/4" thick. Using a knife, cut dough into 12 wedges all the way through.

Brush
egg white over dough and sprinkle evenly with sugar.
Bake
until golden, about 18-20 minutes, depending on your oven.
Serve
warm.


First of all, I cut scone dough like I cut pizzas - uneven and crooked. Oh well. I guess some days I'll get a big scone and some days I'll get a small one.  It'll all even itself out.

Cut crookedly!

My scones are decent, but I wouldn't say I did a GREAT job making them. I've never made scones before, so I probably need to perfect my method. And probably - once again - follow the recipe a little better. Yes, I messed up again. I pulled my scones out of the oven and they are very flat, whereas Gina's are very raised. Lo and behold - I read the recipe wrong. I put in one TEAspoon of baking powder; it calls for one TABLEspoon. That probably makes a lot of difference, huh?


 Maybe my bakery should be called "Follow The Recipe" instead.


They taste fine; look a little weird. I think I'll try them - or a variation of scones - again someday. After I read and really pay attention to a few more recipes. :)

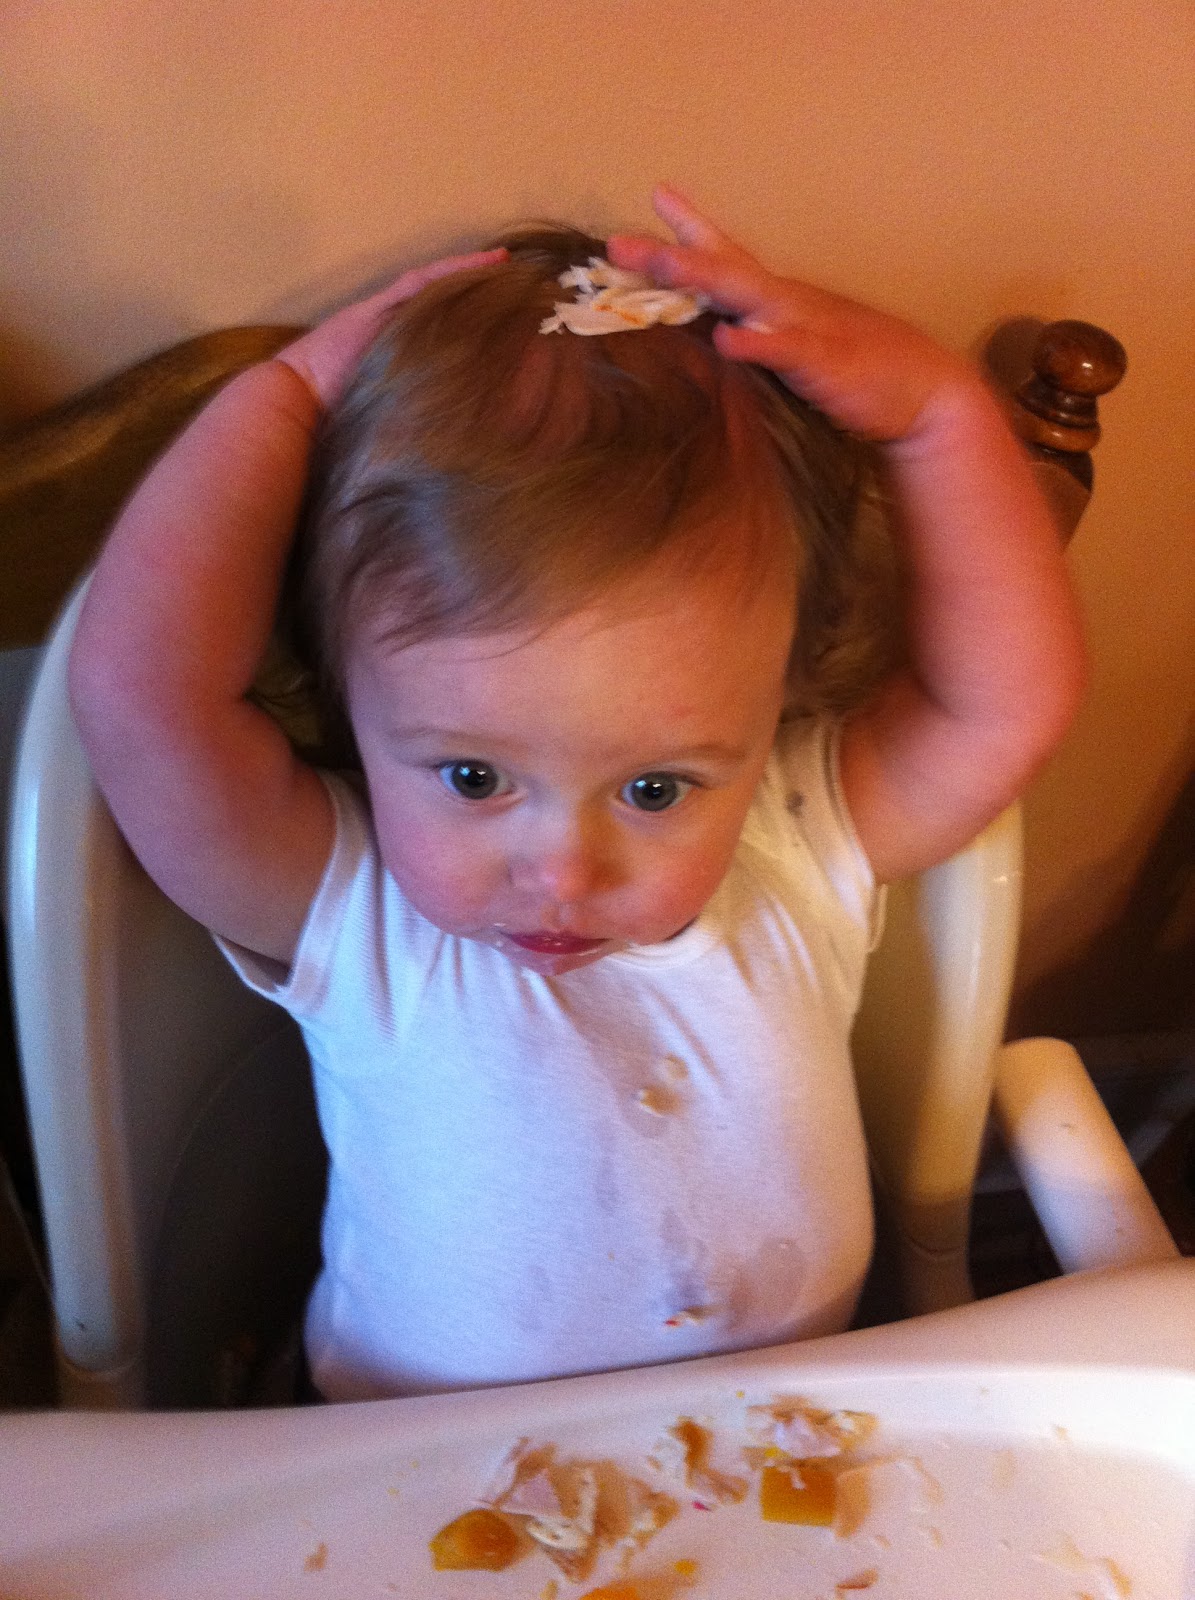
Hannah loved it, though. And why wouldn't she? She's only had chocolate a very small handful of chocolate a few times in her life. She probably was in baby baked good heaven!

Monday, January 9, 2012

The whole jar of jam!

I'm raising snackers. Seriously. These kids love crackers, string cheese, graham cracker bunnies. Applesauce pouches, Cheerios, and most of all - Nutrigrain bars. They eat at least 1 each per day. I think it's their equivalent of cookies.

So, I thought "why not make some homemade Nutrigrain bars?" After a quick Pinterest search, I found this recipe from a great blog called From Apples to Zucchinis. The recipe looked easy enough. I had all the ingredients on hand (always a plus), so I gave it a go.


Homemade Nutrigrain Bars

1 c butter softened
1 c brown sugar
1 c whole wheat flour
1 c all purpose flour
1 1/2 cups oats or quinoa flakes (or a combination of the two)
1 tsp vanilla
2 c (16-24 oz jar) jelly or jam
See? All the ingredients were from my cupboard!
MIX ingredients together until they form a coarse meal – I mixed mine together with my hands
press one half of the mixture into a foil lined, sprayed 9 X 13 pan
spread jelly over the crust
crumble the remaining mixture over the top and press down onto the jelly lightly
bake at 350 for 20-25 minutes
allow to cool before cutting into bars


 The Verdict:
I loved the bars, babies loved the bars. But, in analyzing the recipe, ingredients, time, etc, I've come to the conclusion that unless you are a fanatic about knowing & having control over every little thing that goes into your babies' mouths, the box bars are quite good enough. In fact, the Trader Joe's brand are cheaper than Nutrigrain, taste better, and are whole grain. These just aren't worth the trouble - or the entire jar of jam! (Which costs more than a box of fruit bars itself!)


Delicious, but too not worth the work!

Thursday, January 5, 2012

We ate our way through Christmas

The holidays are such a wonderful season! Pretty lights on the trees (which B&H called "piddy"), lots of presents to open, TONS of great things to eat. B&H did indulge in the holiday season - cookies, pancakes, monkey bread, etc etc. I have blog posts coming for all those, I promise. But first I need to back track a bit and write about this wonderful banana bread recipe I found.

You might recall that I have trouble with quick breads. They tend to sink, be raw in the middle, and burnt on the edges. It's a curse I've tried to overcome for many years. I've also tried banana bread recipe after banana bread recipe and nothing really works.

Then I got this ceramic bread pan. That seems to help.

And I worked on my patience. Turns out I was taking the bread out before it was done.

Anyway, I did find a good recipe lately that I want to repeat over and over again (which, sadly, could be one of the reasons I'm back on the Weight Watchers band wagon....). There was something about this recipe, which uses buttermilk in it, that made it so tasty that babies barely got any. Whoops.

The recipe comes from a blog called Two Peas and Their Pod, which at first I was so excited about because I thought it had to be another twin family blog. But after investigating a bit more, I think the peas are just a man and a woman who have so much in common that THEY are the 2 peas in a pod. Oh well, they still have great recipes on their site!

Buttermilk Banana Bread
Not sunken!


Cook Time: 50-55 minutes

Ingredients:
 1/2 cup unsalted butter, softened
1 cup granulated sugar
2 large eggs
1 cup mashed bananas (3 medium sized bananas)
4 tablespoons buttermilk
1/2 teaspoon vanilla extract
1 3/4 cups all-purpose flour
1 teaspoon baking powder
1/4 teaspoon salt
1/8 teaspoon baking soda

Directions:
1. Grease and flour 1 large loaf pan (9 1/4 X 5 1/4-inch) or whatever combination of pans you’d like. I used a mini loaf pan and a 8 1/2 X 4 1/2 loaf pan. You can also make banana muffins with this recipe, if you wish. Set pans aside.

2. In the bowl of a stand mixer, cream butter and sugar together. Add eggs, mashed bananas, buttermilk, and vanilla until the batter is well mixed.
3. Add in the flour, baking powder, salt and soda. Mix until well combined. Divide batter into greased and floured pans and bake at 350 degrees for 50-55 minutes or until a toothpick comes out clean.
Perfect, crackly top. Mmmm.

4. Let bread cool on a wire rack for 15 minutes. Loosen the bread with a knife and carefully remove from pan. Finish cooling on rack. Slice and serve once cooled.

I love the rich, yellow color of this bread. It tasted as good as it looks.


 You will be happy to know that I have decided to save up my money for a nicer camera, so my grainy, unfocused iPhone photos will soon be a thing of the past. Of course, between taking care of B&H, running this household, keeping up on chores, writing two blogs (visit our other one here), Facebooking, and having time for myself and my husband who knows when I'll have time to use the new camera, but I hope somehow the days get an extra hour in them for me to learn. :)

Friday, December 23, 2011

Where have we gone?

December has been a busy month - actually it all started with Thanksgiving. First I was busy prepping to host Thanksgiving at our house. So I was making goodies for the adults and not much baking for babies happened. But Hannie did get to enjoy a bit of Thanksgiving fun:


Then it was their birthday! I did celebrate with them by making Corn Cakes. Yummmm. Hannah seemed more interested in eating the candle, while Ben happily wanted to share his Corn Cakes with me. I obliged, of course. I'm happy to report I even followed the recipe this time and they turned out better than ever! Who knew?
 

After their birthday they sort of stopped showing interest in baked goods and now only want to eat real food: either what we're eating or deli meat, cheese, and crackers. Hannah likes to put the turkey on her head... Silly gal. Ben especially liked the Beef Stew (who doesn't?!)

Then Ben got sick with a double ear infection. No baked goods then.


And now we've been getting ready for Christmas! After much debate, I decided to risk it and put up the Christmas tree. They don't bother it at all, and they call it the "iddy" (pretty). They love to get up in the morning and to look at it. They point at it and their eyes get big with wonder! And when they DO get close to it, I say "no touch" and they shake their heads back and forth and get very serious. I think they are good learners!


 Of course it wouldn't be Christmas without some cookies. And you know this Momma LOVES her Christmas cookies. In fact, we are staying home for Christmas, only visiting with my brother's family and my dad for a bit, but I still managed to make 6 different kinds of cookies. No wonder my pants are a little tight right now.......
Momma, that's enough cookies!

First Christmas cookie: a Spritz!

Mmmmmm. Give me more!

 So, as the New Year approaches, I'm hoping to get bakin' for these two TODDLERS again (though they technically don't toddle yet...). I've got a stock pile of recipes ready to try out!

And, as if keeping up 1 blog isn't enough work, I've decided to start a second one, one that shall serve as a baby book of sorts. Some of you have been to our Web Site, but I'm finding it harder and more cumbersome to update using that program, so we're moving to a blogger site. Our new blog is called The Cutie and the Beauty. There currently isn't anything on it yet, but I hope to post soon - about our first words!!

Merry Christmas all and safe travels to you and yours!

Saturday, December 3, 2011

The Best Baked Good of All

Mmmmm. Cake!

Today was our First Birthday Party! We discovered the best baked good of all: Cake. Actually, the frosting is what we liked. Yum Yum!! When is it our next birthday? :)


Friday, December 2, 2011

Lunch for Breakfast (but not brunch)

Have I mentioned my new favorite past-time? No, not something crafty, though I have been doing some crochet lately). Not exercising, though I try to go to the Y 3 or 4 times a week. Not cooking, though I do make most of the meals my family eats. My new favorite past-time (er.... time waster!) is browsing around on Pinterest.

Have you joined Pinterest yet? If not, I suggest you do. That is unless you have many pressing priorities. Like a job. Or housework. Or kids for that matter. Once you join, all your free time will be sucked up into pinning. I'm not lying. Go ahead. Try it. And when you do - follow me. I promise I'll follow you back.

And, I hate to admit it, but sometimes I get sucked into Pinterest while the babies are playing in the living room. (I'm in there, too, on the laptop). If I don't pay attention, here's what happens:

Messy, messy living room!

Anyway, while pinning one day, I found this recipe for fried rice with ham and eggs. I'm pretty sure this recipe is meant to be for lunch or supper. But not me. I saw "ham and eggs" and thought breakfast. So, what did this family do? We turned our day around and ate lunch for breakfast today. It was delicious! Daddy even stayed for breakfast today. YUM YUM.


Fried Rice with Ham and Eggs

INGREDIENTS:
3 cups Kraft Minute – White or Brown Rice
3 cups water.
Bring water to a boil, stir in rice; cover. Remove pan from heat.
Let stand 5 minutes (covered), or until water is absorbed. Fluff with a fork.

DON’T WASTE THAT 5 MINUTES ….BEGIN PREPARING:
2 cups cubed ham.
1 Teaspoon Onion power
1 to 2 Tablespoons Brown Sugar
Place a large skillet over medium heat, and melt 1 tablespoon butter and 1 tablespoon margarine. Toss your ham pieces into the hot butter. Now season the ham with onion powder and Brown sugar…stir constantly while the ham browns a little, and the brown sugar turns into a delicious syrup.
Push these ingredients to the back of the pan, and add a little more margarine to your skillet. Next you will need:
3 to 5 Eggs….scrambled.

Crack your eggs into the pan, and stir the egg until fluffy. Continue to let cook, stirring every now and then. You want your eggs to be the consistency of scrambled eggs. Once the eggs are done, stir in with the browned ham.
Now your RICE should be done. Toss it with a fork, and make sure all the water has been absorbed.

Add all the rice to your skillet.
Toss everything together.
Now I add a little more onion power, Salt and Pepper, a couple shots of soy sauce.
Continue to heat on low, while the rice browns slightly.

* You may add snow peas, bacon, broccoli, green peas or anything else you would like.

Instead of making rice this morning, I made up some non-minute rice last night and had it in the fridge ready to go. I also totally cheated and used pre-diced ham from the store.
A little heavy on the ham... the way we like it!


It turned out delicious! B, H, Daddy, & I polished off nearly an entire recipe. YUM YUM.  


Wednesday, November 30, 2011

What We're Eating Wednesday: Lunch

Today we had our ECFE class again, and instead of separating out of the room for parent education time, I spent the afternoon with all the babies and infant teachers in the room helping out. It was great fun to watch B&H play with other babies. Luckily, B&H continued their cry-free streak from separating - but not all other babies were so happy with their mommies or daddies gone. In fact, I spent much of my time comforting some criers. It's a bit anxiety-ridden when you don't know a baby who is crying and crying and you don't know what to do!


But, let me tell you what I learned from my day: B&H are HUGE! The 3 other babies I had to hold to comfort were light as a feather. I kept asking them where the rest of their bodies were! Granted, they were all younger than B&H, but still. I am pretty sure even at 9 months my kids were bigger than the babies today.

Perhaps..... just perhaps..... they are so big because their appetites are big. Just look at what they ate today:


Trader Joe's mini ravioli, diced chicken, mandarin oranges & yogurt